
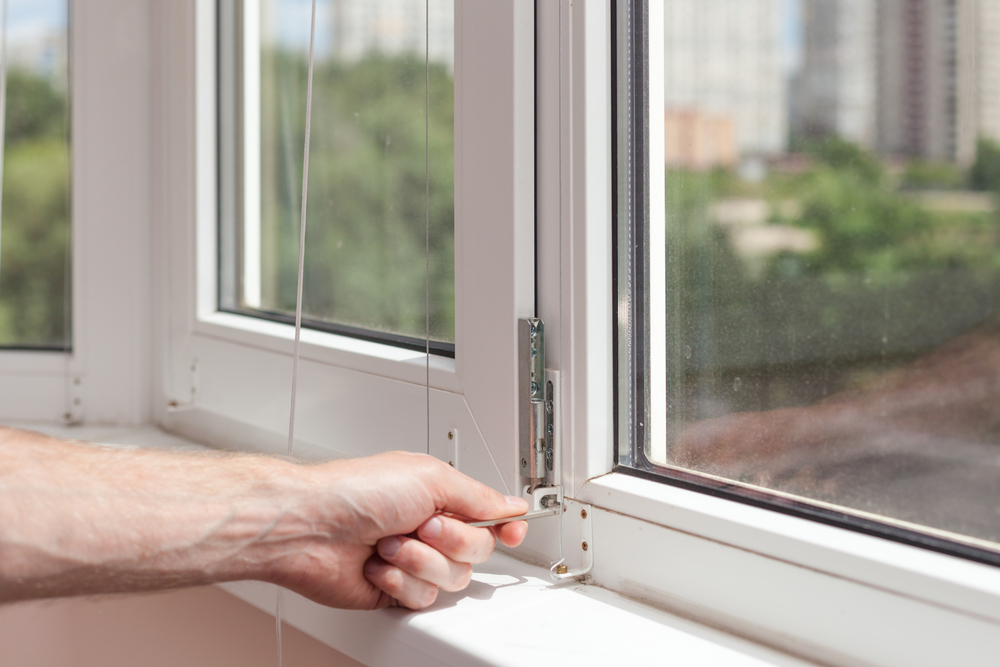
A professional window installation follows the same basic path on most homes: measure, order, prepare the house, remove the old window, prepare the opening, set and fasten the new unit, flash and seal it, insulate the gap, finish the trim and walk through the result.
The details change with the method. An insert goes into the old frame with most of the work done from inside, while a full frame install takes the opening down to the studs and involves trim inside and out. Knowing the steps ahead of time helps you prepare, ask better questions and spot a sloppy job before the trim goes back on.
If you’re planning new windows, TurnKey Window can walk you through what your project will involve. Request a free estimate or call (504) 226-6201.
Key takeaways
- The job starts well before install day with measuring, product choices and ordering, which Marvin says usually takes a few weeks.
- Windows can be installed from inside or outside, and Andersen says your contractor should decide before the windows are ordered.
- Good installs manage water in layers: sill pan, flashing that laps like shingles, and sealant rated for the job.
- The gap around the frame should be insulated and air sealed, not left open behind the trim.
- Finish with a walkthrough: open every window, check the sealant and look for scratches before the crew leaves.
Before install day
Step 1: Measuring and choosing the method
Every project starts with measuring each opening and deciding how the windows will go in. The choice between an insert and a full frame replacement depends on the condition of the existing frames, and Marvin notes that some windows in one house may suit inserts while others need full frame.
This is also when the inside or outside question gets settled. Andersen says windows can be installed from either side, and your contractor will recommend which makes sense, a decision that has to be made before ordering.
Step 2: Ordering and lead time
Marvin says windows are usually ready for delivery a few weeks after they’re ordered, with custom products such as historic replications or specialty shapes taking longer.
If they’re delivered early, Marvin recommends storing them in a secure garage rather than leaving them outside exposed to the weather. Ask how much space they’ll take up and be home to let the delivery in.
Step 3: Permits and lead-safe planning
Permit rules vary by municipality. Marvin notes that full frame replacement, which involves structural changes, is more likely to need a permit than an insert, so confirm with your local permitting office before the start date.
In homes built before 1978, the EPA’s Renovation, Repair and Painting Rule requires anyone paid to disturb painted surfaces to be certified and trained in lead-safe work practices. Ask your installer for their firm certification before work begins.
Step 4: Preparing your home
Andersen and Marvin both publish homeowner checklists. Here’s what they recommend doing before the crew arrives:
- Take down blinds, shades and curtains you plan to reuse. Andersen says contractors cite blinds as one of the biggest causes of delays.
- Have window alarm sensors disconnected, ideally with help from your security company.
- Clear about 5 feet of space around each window inside, per Andersen.
- Cover furniture with drop cloths and take pictures off nearby walls to cut down on dust cleanup.
- Move lamps and fragile items off nearby shelves, since Marvin notes the work can rattle walls.
- Outside, trim shrubs and move patio furniture so ladders can be set up under the windows.
- Plan a safe spot for kids and pets away from the work zone.

Install day, step by step
A small crew usually works on one window at a time, according to Marvin, while a larger crew may handle several openings at once. The steps for each opening look like this.
Step 5: Walkthrough and protection
The crew should confirm which window goes where and lay down drop cloths and plastic. Marvin says installers should bring their own floor protection, and it’s worth pointing out any surfaces you want handled with extra care.
Step 6: Removing the old window
For an insert, the old sash, operating hardware and covers come out and the existing frame stays. For a full frame job, Marvin says the window is removed completely down to the studs, along with interior and exterior trim and occasionally some siding.
This is the moment hidden problems show up. Andersen notes that a contractor may discover rotted wood or water damage when the old window comes out, and should advise you on the right course, even if that means pausing to fix it properly.
Step 7: Preparing the opening
On a full frame or new construction install, the opening is prepared to shed water. Marvin’s rough opening prep and flashing guide, based on ASTM E2112, shows the weather barrier cut and folded back and a flexible membrane sill pan applied, sometimes over a sloped wedge to push water outward.
On an insert, prep means cleaning the old frame and sill track. International Window’s retrofit instructions call for scraping rough texture where the new flange will sit and test fitting the window before any sealant goes on.
Step 8: Setting, shimming and fastening
The new window goes into the opening and is shimmed level and plumb. International Window’s instructions place shims at fastener locations where possible, fasten one upper corner first, recheck level, then secure the opposite side before driving the rest.
Those instructions keep screws no more than 18 inches apart, about 6 inches from each corner, and out of the sill entirely. They also warn against overtightening screws, which can distort the frame.
Step 9: Flashing and sealing
This step decides whether the window stays dry. On a flanged window, Marvin’s guide bridges each corner with a small strip of flashing, laps flashing tape up the sides, then covers those with a head strip so every layer sheds water over the one below.
- The guide notes a nailing fin isn’t designed to be a weatherproof flashing on its own.
- A drip cap or head flashing goes over the top of the window.
- For walls exposed to wind-driven rain, Marvin shows an optional skirt of flashing at the sill.
- Perimeter sealant should be rated Grade NS Class 25 under ASTM C920 and compatible with the window and the exterior finish.
On a flush fin insert, International Window calls for a continuous bead of sealant where the fin meets the wall, leaving a 2 inch gap at each sill corner so any water that gets in can drain back out.
Step 10: Insulating and air sealing
ENERGY STAR advises making sure the space between the window frame and the rough opening is insulated during installation. Marvin’s guide uses loose fill fiberglass or low-expansion, closed cell foam, then backer rod and sealant at the interior to create a continuous air seal.
The guide is specific about the foam: minimal expanding, low compression and closed cell, compliant with ASTM E2112. If you see a crew filling the gap with a different product, it’s fair to ask why.
Step 11: Trim, cleanup and haul-away
Trim goes back on, or new trim is installed, and exterior joints are sealed once siding is back in place. Andersen notes its windows arrive with a protective factory film that the contractor removes after installation.
The crew should clean up dust and debris and take the old windows away. Ask ahead of time where the dumpster or trailer will sit, as Marvin suggests.
Marvin also recommends asking for boards under the dumpster’s contact points so it doesn’t damage your driveway. On a larger job with other renovations going on, expect the dumpster to arrive before the windows do.
Step 12: Final walkthrough
Marvin recommends inspecting every window before the crew leaves. Use this list:
- Open and close every window at least twice and check for smooth, bind-free operation.
- Check locks and screens on each unit.
- Look for dents or scratches on the glass, frames, sashes and trim.
- Inspect the outside sealant for gaps where you can reach it safely.
- Ask how to clean the windows and remove the screens, which Andersen suggests covering at the walkthrough.

How long the installation takes
Marvin says a two-person crew can replace a small to average window with an insert in about an hour, or roughly eight windows a day, while one full window replacement can take several hours. Andersen puts a ground-level full frame replacement at 4 to 6 hours, with upper-story windows taking longer.
Weather matters too. Marvin notes rain or extreme cold can cause delays, and a good crew will keep you updated on changes to start and finish times.
Why this isn’t a DIY weekend project
Window installation means ladders, heavy glass and wall openings exposed to weather. International Window’s instructions list the knowledge needed: AAMA installation methods, applicable codes, residential construction basics, and sealing and glass handling procedures.
ENERGY STAR also notes that some manufacturers void the warranty if their installation instructions aren’t followed, and some warranties require a manufacturer-certified installer. On upper floors especially, leave it to a trained crew.
Frequently asked questions
What are the steps to installing windows?
The main steps are measuring, ordering, preparing the home, removing the old window, preparing the opening, setting and fastening the new unit, flashing and sealing, insulating the gap, reinstalling trim and doing a final walkthrough. Full frame jobs add trim and sometimes siding removal and repair.
Is new window installation done from inside or outside of the home?
It can be either. Andersen says your contractor decides based on your home before the windows are ordered, and Marvin notes insert replacements are mostly done from inside while full frame replacements involve trim inside and out.
How long does it take to install one window?
Marvin says an insert takes a two-person crew about an hour, while Andersen puts a ground-level full frame replacement at 4 to 6 hours. Upper floors, large units and repairs add time.
Will my house be open to the weather during installation?
Marvin describes smaller crews working on one window at a time, which limits how many openings are exposed at once. Ask your installer how they protect an opening if rain moves in mid-job.
Plan your installation
A clean install comes from good prep on both sides. Our window installation service covers new openings and additions, and our window replacement service covers swapping out existing windows.
Schedule a free estimate or call (504) 226-6201 to get your project on the calendar.
Sources
- Andersen: How to Prepare for Window Installation Day
- Marvin: What to Expect When Replacing Windows and Doors
- Marvin: Insert vs Full Frame Window Replacement
- Marvin: Window Rough Opening Prep and Flashing
- International Window: Retrofit Window Installation Instructions
- ENERGY STAR: Residential Windows, Doors and Skylights
- EPA: Renovation, Repair and Painting Program