
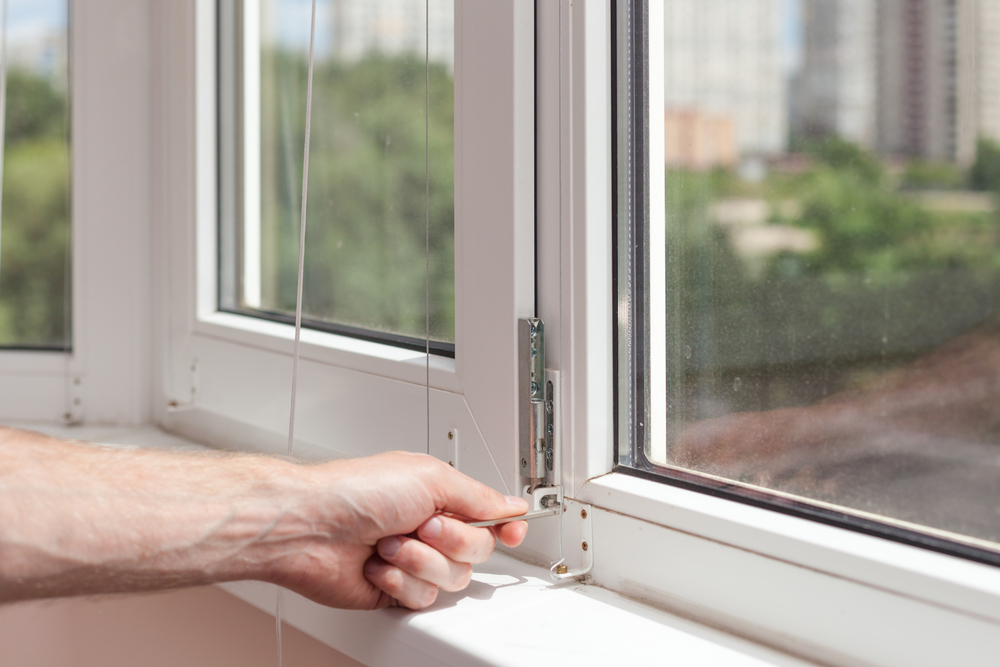
A professional window installation follows the same basic path on most homes: measure, order, prepare the house, remove the old window, prepare the opening, set and fasten the new unit, flash and seal it, insulate the gap, finish the trim and walk through the result.
The details change with the method. An insert goes into the old frame with most of the work done from inside, while a full frame install takes the opening down to the studs and involves trim inside and out. Knowing the steps ahead of time helps you prepare, ask better questions and spot a sloppy job before the trim goes back on.
If you’re planning new windows, TurnKey Window can walk you through what your project will involve. Request a free estimate or call (504) 226-6201.
Key takeaways
- The job starts well before install day with measuring, product choices and ordering, which Marvin says usually takes a few weeks.
- Windows can be installed from inside or outside, and Andersen says your contractor should decide before the windows are ordered.
- Good installs manage water in layers: sill pan, flashing that laps like shingles, and sealant rated for the job.
- The gap around the frame should be insulated and air sealed, not left open behind the trim.
- Finish with a walkthrough: open every window, check the sealant and look for scratches before the crew leaves.
Before install day
Step 1: Measuring and choosing the method
Every project starts with measuring each opening and deciding how the windows will go in. The choice between an insert and a full frame replacement depends on the condition of the existing frames, and Marvin notes that some windows in one house may suit inserts while others need full frame.
This is also when the inside or outside question gets settled. Andersen says windows can be installed from either side, and your contractor will recommend which makes sense, a decision that has to be made before ordering.
Step 2: Ordering and lead time
Marvin says windows are usually ready for delivery a few weeks after they’re ordered, with custom products such as historic replications or specialty shapes taking longer.
If they’re delivered early, Marvin recommends storing them in a secure garage rather than leaving them outside exposed to the weather. Ask how much space they’ll take up and be home to let the delivery in.
Step 3: Permits and lead-safe planning
Permit rules vary by municipality. Marvin notes that full frame replacement, which involves structural changes, is more likely to need a permit than an insert, so confirm with your local permitting office before the start date.
In homes built before 1978, the EPA’s Renovation, Repair and Painting Rule requires anyone paid to disturb painted surfaces to be certified and trained in lead-safe work practices. Ask your installer for their firm certification before work begins.
Step 4: Preparing your home
Andersen and Marvin both publish homeowner checklists. Here’s what they recommend doing before the crew arrives:
- Take down blinds, shades and curtains you plan to reuse. Andersen says contractors cite blinds as one of the biggest causes of delays.
- Have window alarm sensors disconnected, ideally with help from your security company.
- Clear about 5 feet of space around each window inside, per Andersen.
- Cover furniture with drop cloths and take pictures off nearby walls to cut down on dust cleanup.
- Move lamps and fragile items off nearby shelves, since Marvin notes the work can rattle walls.
- Outside, trim shrubs and move patio furniture so ladders can be set up under the windows.
- Plan a safe spot for kids and pets away from the work zone.

Install day, step by step
A small crew usually works on one window at a time, according to Marvin, while a larger crew may handle several openings at once. The steps for each opening look like this.
Step 5: Walkthrough and protection
The crew should confirm which window goes where and lay down drop cloths and plastic. Marvin says installers should bring their own floor protection, and it’s worth pointing out any surfaces you want handled with extra care.
Step 6: Removing the old window
For an insert, the old sash, operating hardware and covers come out and the existing frame stays. For a full frame job, Marvin says the window is removed completely down to the studs, along with interior and exterior trim and occasionally some siding.
This is the moment hidden problems show up. Andersen notes that a contractor may discover rotted wood or water damage when the old window comes out, and should advise you on the right course, even if that means pausing to fix it properly.
Step 7: Preparing the opening
On a full frame or new construction install, the opening is prepared to shed water. Marvin’s rough opening prep and flashing guide, based on ASTM E2112, shows the weather barrier cut and folded back and a flexible membrane sill pan applied, sometimes over a sloped wedge to push water outward.
On an insert, prep means cleaning the old frame and sill track. International Window’s retrofit instructions call for scraping rough texture where the new flange will sit and test fitting the window before any sealant goes on.
Step 8: Setting, shimming and fastening
The new window goes into the opening and is shimmed level and plumb. International Window’s instructions place shims at fastener locations where possible, fasten one upper corner first, recheck level, then secure the opposite side before driving the rest.
Those instructions keep screws no more than 18 inches apart, about 6 inches from each corner, and out of the sill entirely. They also warn against overtightening screws, which can distort the frame.
Step 9: Flashing and sealing
This step decides whether the window stays dry. On a flanged window, Marvin’s guide bridges each corner with a small strip of flashing, laps flashing tape up the sides, then covers those with a head strip so every layer sheds water over the one below.
- The guide n